Attracting and retaining users in mobile apps is crucial to the success of any application. One effective way to retain users is by employing local alerts on iOS devices.
In this guide, we’ll delve deep into the process of crafting, scheduling, and setting up these alerts for your iOS application.
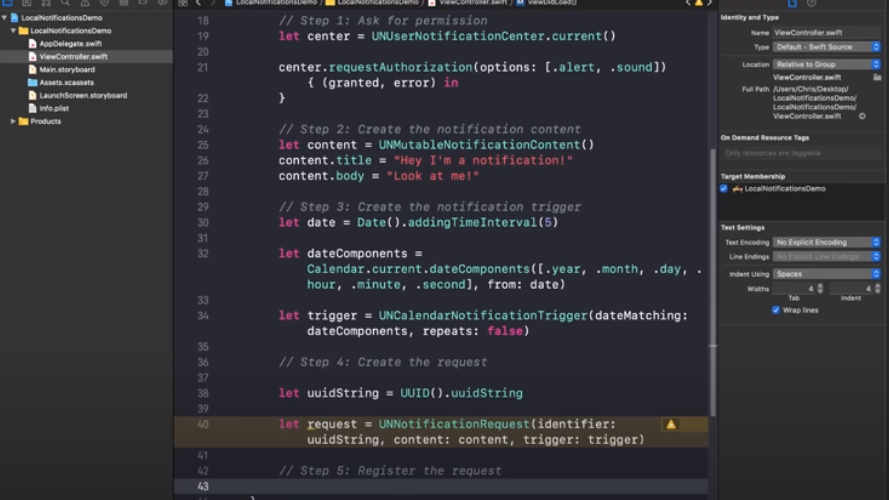
Crafting Local Alerts
Attracting and retaining users in mobile apps is a cornerstone of success. A potent method to retain these users is through such alerts on iOS devices.
Step 1: Obtain User Consent
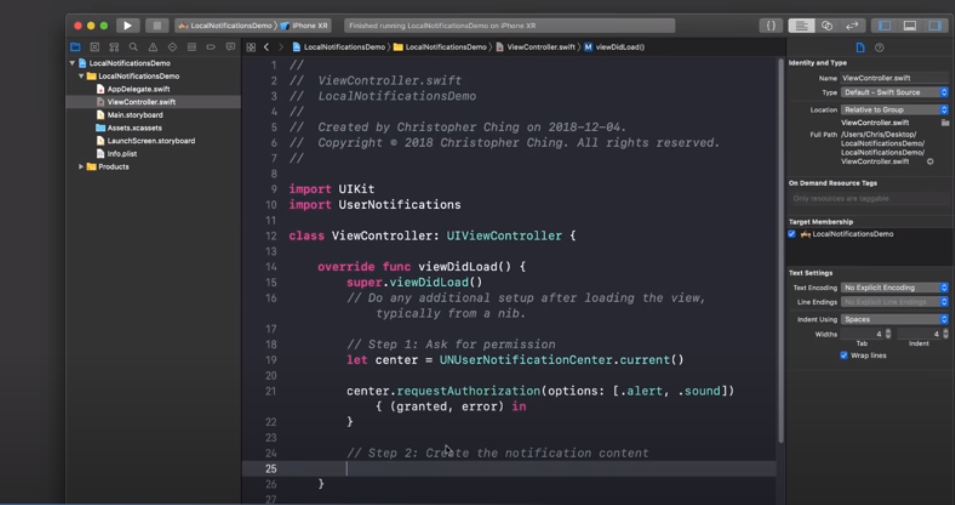
Before configuring the app, you must first gain the user’s consent. To do this, integrate the following code into your app’s AppDelegate:
import UserNotifications

UNUserNotificationCenter.current().requestAuthorization(options: [.alert, .sound, .badge]) { granted, error in
    if granted {
        // Consent obtained
    } else {
        // Consent denied
    }
}
Step 2: Design Notification Content
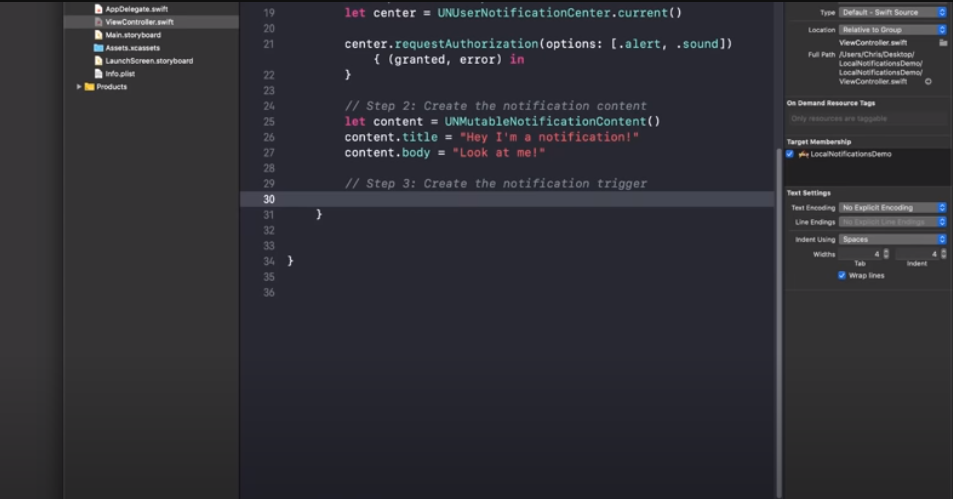
You can customize the content of the alert, including its title, subtitle, message, and attachments. Here’s how you can draft a basic alert:
let content = UNMutableNotificationContent()
content.title = "Just a Reminder!"
content.body = "Time for your daily activity."
content.sound = UNNotificationSound.default
Step 3: Set a Notification Cue
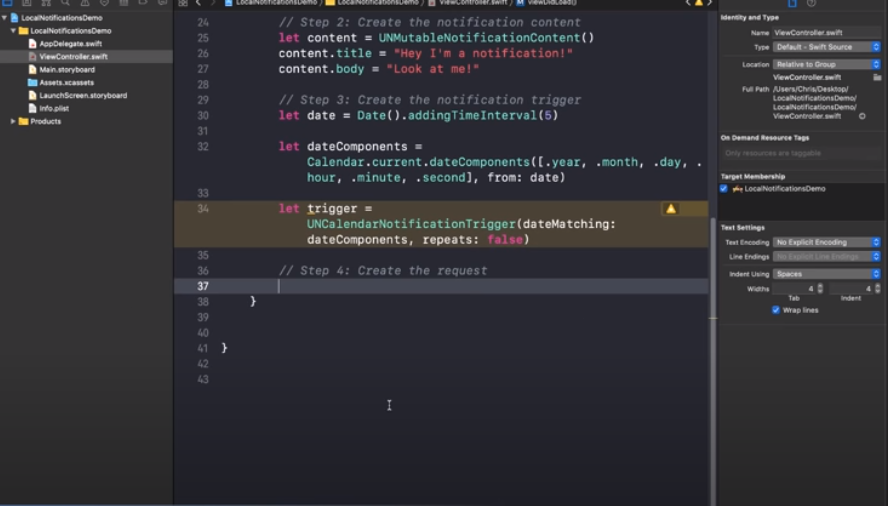
Cues dictate when the alert is delivered. iOS offers various cue types, like time-based cues, location-based cues, and more. To schedule an alert for delivery in 24 hours, use a time-based cue:
let trigger = UNTimeIntervalNotificationTrigger(timeInterval: 86400, repeats: false)
Step 4: Draft a Notification Request
Merge the content and cue to form an alert request:
let request = UNNotificationRequest(identifier: "routineAlert", content: content, trigger: trigger)Step 5: Line Up the Alert
To schedule alerts, use UNUserNotificationCenter:
let center = UNUserNotificationCenter.current()
center.add(request) { error in
    if let error = error {
        print("Error: \(error)")
    }
}
Step 6: Managing Notification Interactions
With alerts, you can also process user interactions. Set up action buttons and responses like this:
let delayAction = UNNotificationAction(identifier: "Delay", title: "Delay", options: [])
let actionButtons = [delayAction]
let actionCategory = UNNotificationCategory(identifier: "alertCategory", actions: actionButtons, intentIdentifiers: [], options: [])

center.setNotificationCategories([actionCategory])
Step 7: Process Notifications
To manage alerts when the app is active and in view, implement the userNotificationCenter(_:willPresent:withCompletionHandler:) method in your AppDelegate.
func userNotificationCenter(_ center: UNUserNotificationCenter, willPresent notification: UNNotification, withCompletionHandler completionHandler: @escaping (UNNotificationPresentationOptions) -> Void) {
    // Process the alert here
    completionHandler(.banner)
}
Conclusion
Mastering local alerts in iOS is a potent means to keep app users informed. By following the steps outlined, you’ll be equipped to craft, adjust, and schedule local alerts, and even manage interactions with users.
Well-curated alerts will ensure your app consistently captures users’ focus, leading to enhanced user retention and satisfaction.